how to draw red blue 3d image
This Blender Texture Pigment Tutorial explains how to paint directly on objects. We volition cover all kinds of texture pigment techniques that you can use in Blender. Texture Painting is a procedure of making your ain textures by using painting tools on the 2D epitome that is projected onto 3D objects. Usually texture painting is used to create a stylized wait, peculiarly looking good on the low-poly models.
Texture painting also can be a style of creating details. Pregnant that you tin can literally paint the details onto the object instead of making them out of geometry and wasting polygons on that.
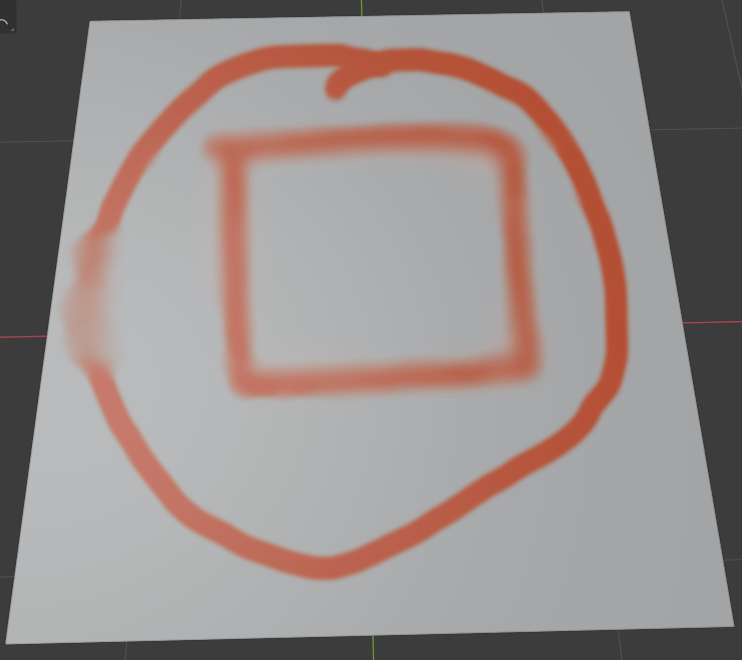
Details painted on the object
Beginning Texture Painting
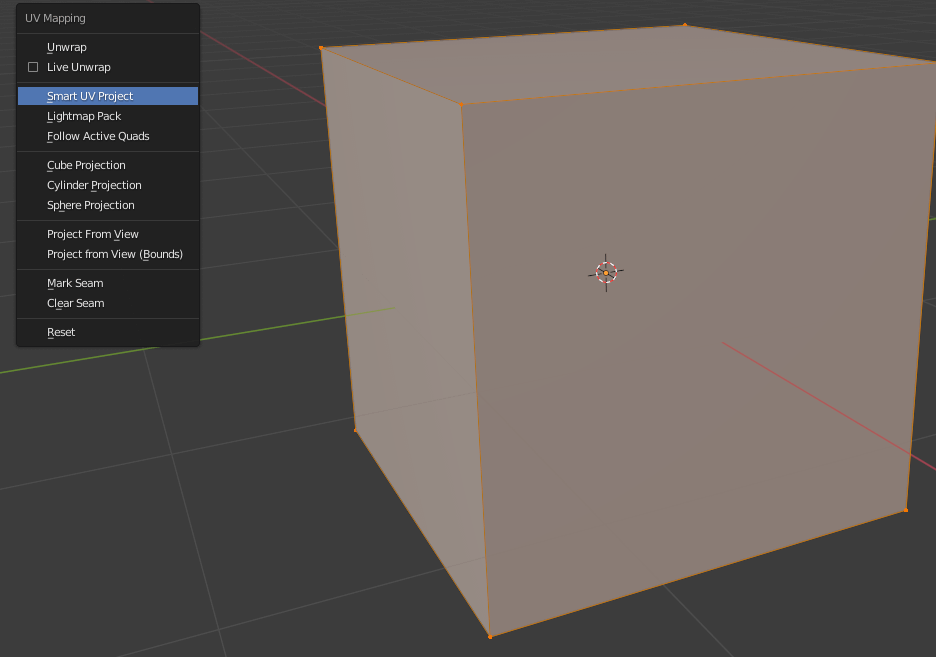
To start Texture Painting in Blender, offset of all you need to create an object. A default Cube would be fine too. Later that you lot need to create a UV map of the object. Default objects come with one ready, only more complex objects need 1 created. We have a good tutorial on how to practice that and more – Blender UV Mapping Tutorial.
After a UV Map is created, nosotros most tin can start Texture Painting. A good idea would exist to change to the "Texture Paint" Workspace from the acme of the interface. Information technology should look something like this:
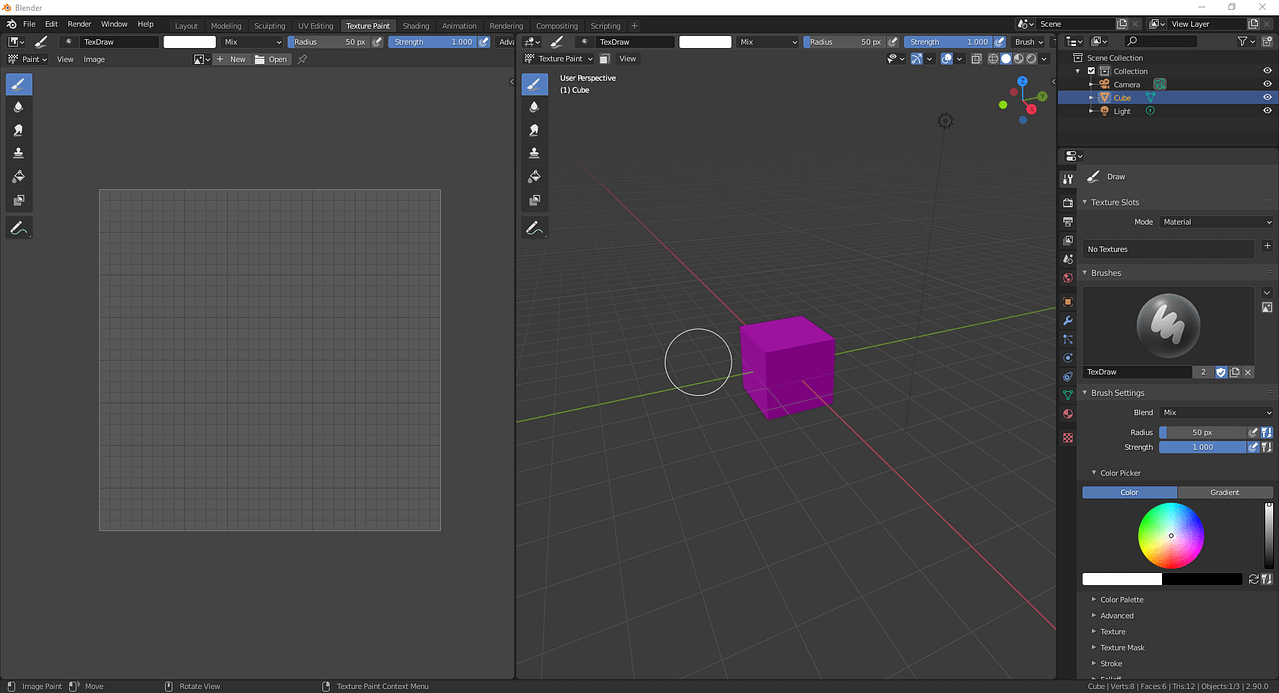
On the left in that location is an Image Editor, so 3D Viewport opened in the Texture Paint mode. And the Properties Editor is opened on the Agile Tool and Workspace settings, and then we could command our brushes.
But before proceeding, you should notice that your object is pink and you can non depict anything on information technology, there is an mistake coming up.

This means that at that place is no image to describe on. Yous demand an image that would be connected to the object and that would save the information about your painting.
Calculation an image is piece of cake. In the Properties editor at the peak just click on the "+" button, where No texture is written. At that place would be a couple of options here, they are the kinds of textures that you tin work on. Now we only need a Base of operations Color, so choose that and in the appeared window you need to set a Name of the image, its resolution, colour and other info.
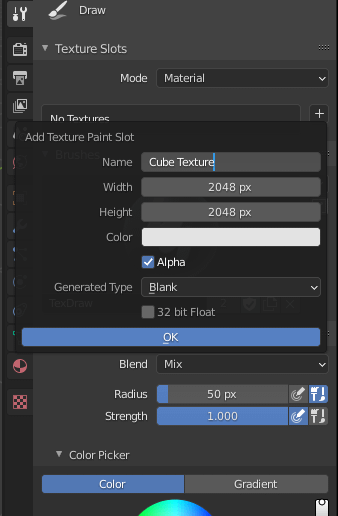
After this is washed, yous can click OK and a new image would exist generated. Then y'all can find the paradigm and open up it in the Prototype Editor to encounter all the changes in the real time.

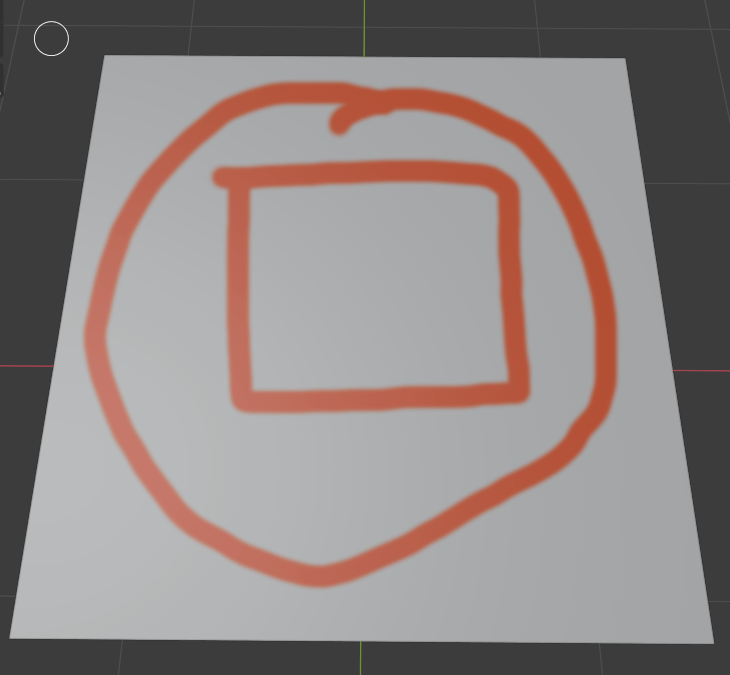
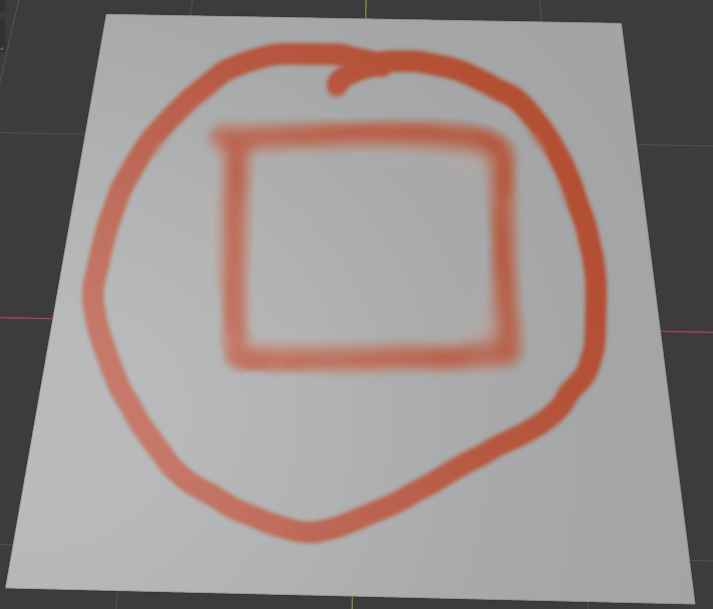
And it is done. You are now gear up to paint on your object whatever yous similar. Just kickoff clicking on information technology with the castor active.

Y'all will see that all the changes that you make to the object also would be visible in the Image Editor with the UV Map showing you lot on which part of the object the changes were made.
You lot can pigment on both the object itself and in the Image Editor on the image, post-obit the UV map.
Texture Paint Tools
In the top left corner of the Blender Texture Pigment mode in 3D Viewport yous can come across that there are a couple of different tools available. Let's look into them a fleck and listing them:
- Draw tool. The principal and most important ane. Allows y'all to depict on the object using unlike colors and Alloy modes.
- Soften brush blurs the lines making them non as sharp. In the real world it is similar to when you use water to soften the lines of the pigment.
- Smear tool makes it as if you would smear the pigment with your finger. Making the colors that y'all smear – blend.
- Clone copies the last thing you drew with the Depict Tool and draws information technology once again.
- Fill tool is quite understandable. But fills everything with a unmarried colour of your choosing.
- Mask tool. If you have a Stencil Paradigm created in the Masking settings that situated in the Header of the 3D Viewport – you tin mask parts of the 3D object, so they would be forbidden to draw on.
Texture Paint Brush Settings
When you lot selected any of the mentioned above brushes – in the Backdrop Editor there a lot of different new settings appear. We are not going to wait at the all settings for the all brushes, but it will exist prissy to return and larn more nearly the chief Draw brush.
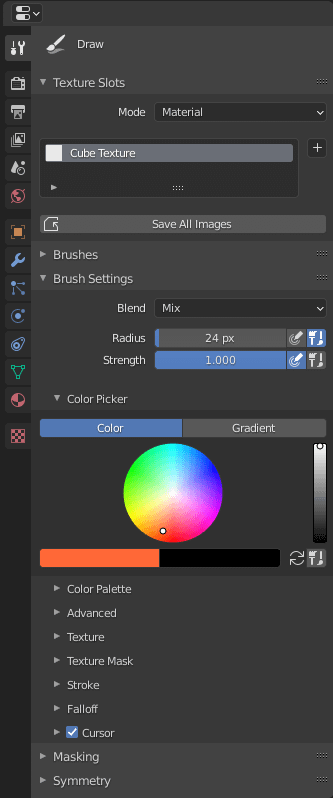
At the peak there is a Material Fashion setting and Texture creation section that we used to create an image to work on.
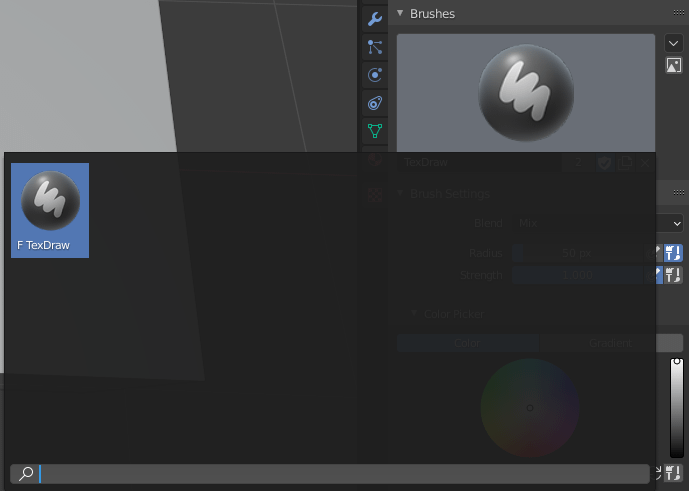
Then is the Brushes section, but at that place are no selection of brushes available in the Blender at the moment.
The near important section is probably the Brush Settings. There you can change a Blend mode at which we are going to look later, the Radius and Strength of your brush and its colors between which y'all can bandy and also save the colors in the Colour Palette.
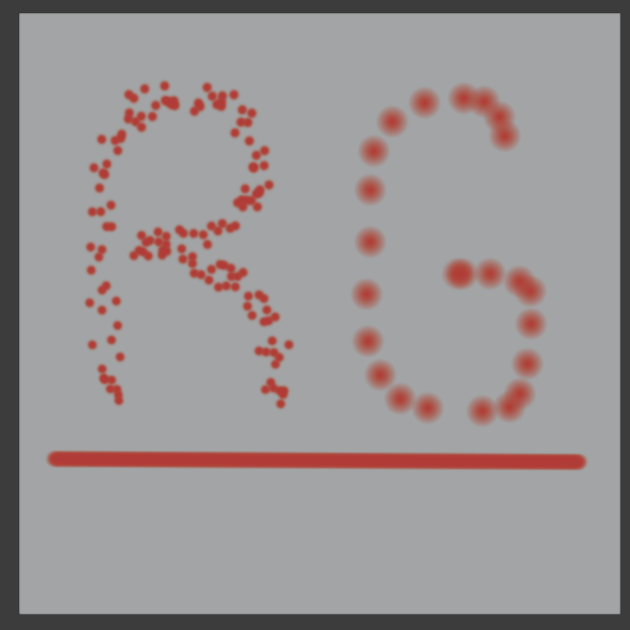
Then at that place some Advanced settings, settings for Textures and Masking. Besides there you can find settings for Strokes. These settings will alter how you use pigment to the object. For instance make it dotted instead of constant or a straight line.
And finally at the bottom you can change the Falloff. This one is quite interesting, considering the unlike falloffs can make a actually big difference on the end result of the texture.

Some other important setting hither is the Symmetry. If it is turned on – it volition mirror everything you practice onto the other planes that yous select. This is extremely helpful in the Texture Painting.

Texture Paint Blend Options
Returning back to the Blend Options.
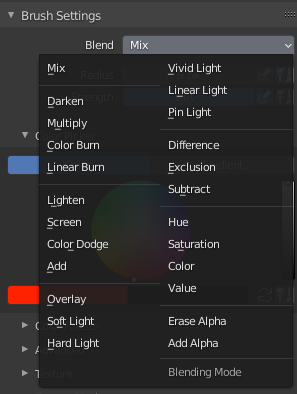
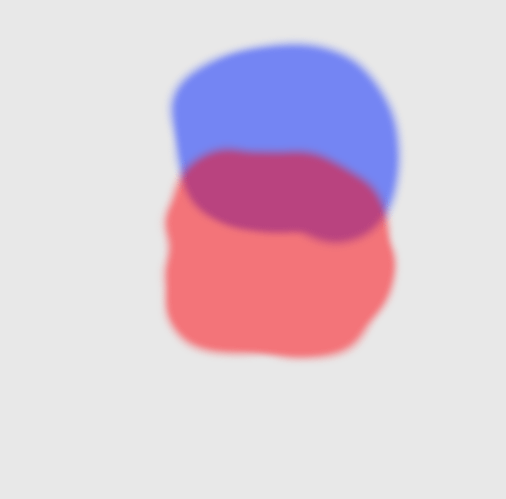
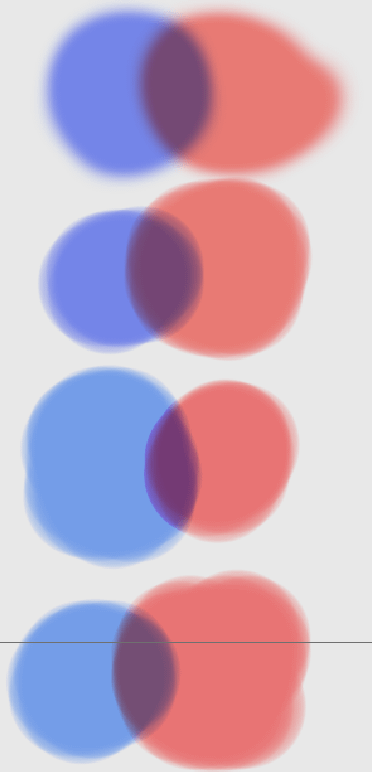
Nosotros volition non go into each of them, because at that place are but also many. Though let'south await at some of them that are nigh used and near important. The default one is Mix. And it does what it says – if 2 colors collide – they volition exist mixed. So for example if I pigment red over blue – I will become a purple colour.
You should have noticed that there are kind of sections of the Blend modes. Significant that some options are grouped together and separated from others.
After Mix goes the Darken group. They are different from Mix in the way that they don't simply mix colors, merely also darken them in dissimilar ways. And then instead of the purple colour you will receive some dark blues or really dark purples.
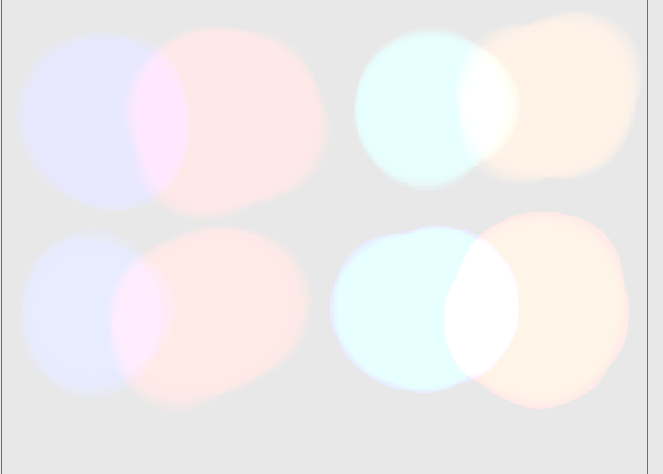
Next group is the contrary of previous ones. Instead of darkening – they lighten colors in different means.
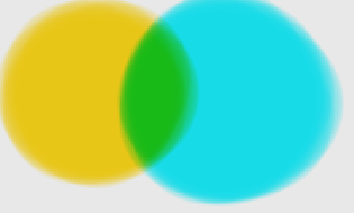
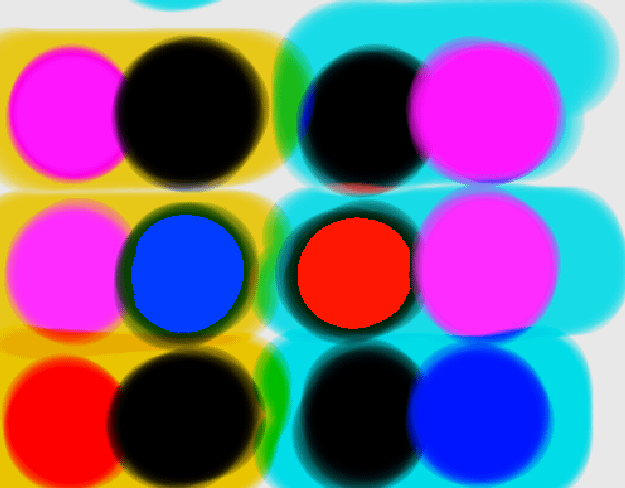
Group that nosotros are going to await at now is really interesting and unusual. Just by itself information technology takes reverse colors from the ones I choose. Opposite meaning opposite on the color bicycle, where you choose color. And so my blue and red turn into yellow and cyan, which create green on the overlap:
Merely the interesting part hither is not in the colors that nosotros become themselves. The trick hither is to overlap information technology on the original color. So yous can see that they interact differently this time. For example Subtract did decrease all of the color and replaced it with black. While Exclusion excluded everything merely the selected color.
Second to last group has a bit of everything and they besides collaborate with original colors. Hue creates a hue of the chosen color over another ane and can't exist used on the Blastoff. Saturation simply increases the saturation of the colors no thing what settings yous choose. Color is similar to Hue and Value takes the brightness value that you are using and ignores other settings.

The final two are simply to Erase and Add dorsum Alpha.
Decision
There is a lot to Blender Texture Paint. And it is a actually of import skill if you are into making textures yourself, especially textures for games, equally that is where this skill is used a lot. Ane of the main advantages of texture painting is that information technology allows you to create highly-detailed objects while maintaining low polygon count.
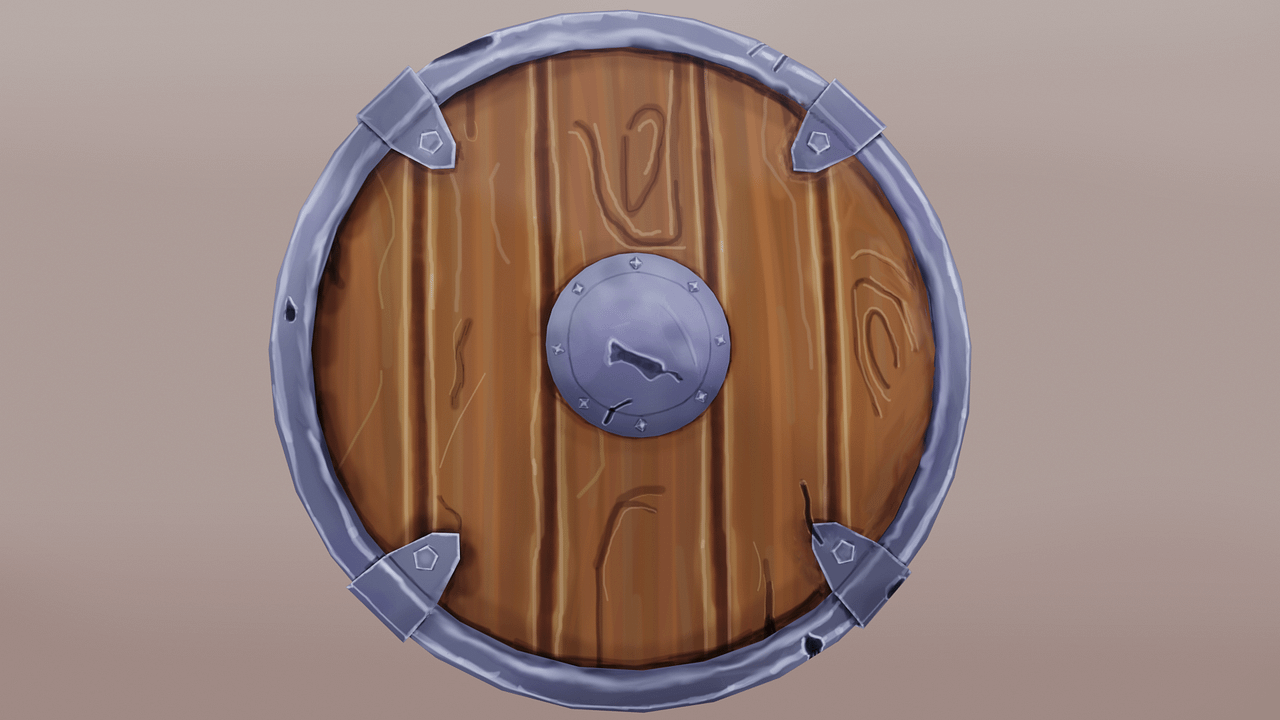
Mitt-painted shield
Encounter also our other Blender Tutorials and top 3D Model Reviews.
Source: https://renderguide.com/blender-texture-paint-tutorial/
0 Response to "how to draw red blue 3d image"
Post a Comment